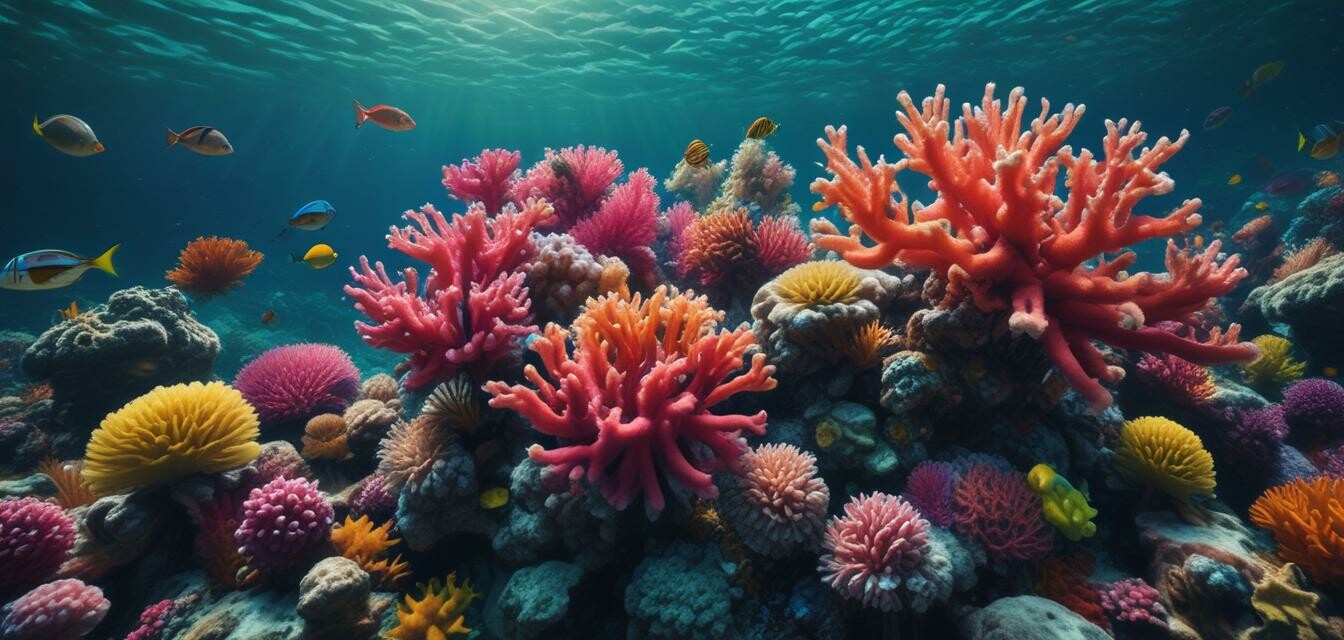
Best Practices for Post-Processing Underwater Images
- Understand color correction to enhance the natural vibrancy of underwater photographs.
- Utilize tools like curves and levels to adjust contrast and brightness.
- Keep sharpening and noise reduction subtle to maintain natural detail.
- Experiment with sophisticated editing techniques to create stunning visuals.
When it comes to capturing the breathtaking beauty of underwater scenes, taking the shot is only part of the journey. Post-processing is where you can truly enhance your underwater photographs, bringing out colors and details that may not be as vivid in the raw image. This article covers some effective techniques for editing your underwater photos to enhance clarity and color vibrancy, ensuring your breathtaking imagery resonates with viewers.
Understanding Color Correction
Underwater photography often suffers from color loss due to depth and water filtration. Hence, color correction is paramount. Here are some tips:
- Use white balance adjustments to combat the blue/green tint that can overshadow your images.
- Adjust saturation levels carefully to prevent unnatural color pops.
Using Adobe Lightroom for Color Correction
Adobe Lightroom provides an accessible interface for color correction. Here are steps to correct colors effectively:
- Import your image into Lightroom.
- Navigate to the "Develop" module.
- Adjust the "Temperature" slider to correct white balance.
- Increase "Vibrance" to enhance muted colors without affecting skin tones significantly.
Adjusting Contrast and Brightness
Contrast can add depth and dimension to your photographs. Thus, adjusting contrast and brightness is essential.
| Tool | Function |
|---|---|
| Curves | Allows precise adjustments to tonal range. |
| Levels | Helpful for recognizing the histogram to balance shadows, highlights, and midtones. |
Both tools enable you to bring out the details in the darker and lighter areas of your image, resulting in a more balanced photo.
Sharpening and Noise Reduction
Underwater photographs sometimes exhibit noise which can detract from overall quality. It’s vital to apply sharpening and noise reduction thoughtfully:
Tips for Sharpening and Noise Reduction:
- Use the "Detail" panel in Lightroom to apply sharpening without overdoing it.
- Apply noise reduction selectively to areas with unwanted noise while preserving detail in focal points.
Experimenting with Editing Techniques
Post-processing at times requires innovative techniques to create the desired look for your underwater images:
- Layer Blending: Combine multiple layers to adjust parts Of your images.
- Gradient Masks: Great for controlling exposure over specific parts of the image.
Layer Blending in Adobe Photoshop
Here’s a basic method to use layer blending:
- Open your underwater image in Photoshop.
- Create a duplicate layer.
- Apply different effect filters in varying opacities to blend and adjust the layers.
- Use a layer mask to define areas you want to enhance or diminish.
Final Touches
Before finalizing your image, remember to take a step back and review your adjustments:
- Consider overall composition and aesthetics.
- Check clarity and vibrancy at 100% zoom to ensure that your enhancements are well-directed.
Conclusion
Post-processing underwater images is an art that, when done correctly, can dramatically improve the way your underwater photography is perceived. By mastering color correction, adjusting brightness and contrast, sharpening images, and applying unique editing techniques, you can create stunning visuals that truly represent the beauty beneath the waves.
Pros
- Enhances visual appeal of underwater images.
- Allows for creativity and personal artistic expression.
- Improves detail and clarity in photographs.
Cons
- Can be time-consuming and requires practice.
- Over-processing can lead to unnatural results.
For more techniques to enhance your underwater photography, visit our Tips and Techniques category, or explore our various Diving Equipment options to further empower your underwater experience.

